Using Dansguardian on ClearOS, ClarkConnect, or any basic *unix setup, you can configure a .php script to bypass the content filtering software for a set amount of time using a defined username and password. This walkthrough involves the modification of configuration files and general *unix knowledge. If you need additional assistance please don’t hesitate to contact us via email or phone.
We need to first log into our server via console or SSH. Once logged in we need to locate the first file to edit called dansguardian.conf
To locate the file, as the location varies, I prefer to use the universal *unix find command-

In the case above, the file is located in the /etc/dansguardian-av/ directory. To edit the file, you can use your favorite *unix text editor. In this case I am going to use nano as it’s fairly easy to use-

There are a few settings that must be configured correctly in this file for later us:
- Set the reporting level to 1 or 2 depending on your needs
- Point the accessdenied.php script to a file location in which we’ll create later
- Enable the non-standard delimiter in order to allow dansguardian to correctly pass information to our script

Please note the in above image the ip-address reflects the location of your transparent proxy server.
Now we need to edit the dansguardianf1.conf file which is located in the same location:

There are additional settings we need to change here:
- Change the temporary bypass denied page setting to -1 which configures dansguardian to use our script file
- You must generate a md5 key that will be unique to our script (see link below)
- Change reporting level to match setting in dansguardian.conf file

Follow this link to generate a MD5 Key: Generate MD5 Key
We now have to create our accessdenied.php script. This file is located in the transparent web-proxy public location. To locate it, we’ll use the find command again:

In the case above we notice the public directory resides in /var/webconfig/. Let’s create our accessdenied file in the public directory:

To access an example .pdf document outlining the accessdenied.php script, please click the link below:

An outline of some key settings are displayed below:

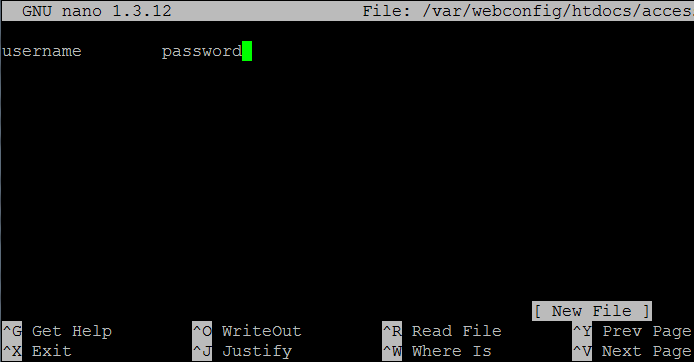
The last step is to create a text file containing a username and password used to bypass the filter. You need to place this file outside of the public www directory used by the transparent-proxy. In the following example I placed the file named access.txt a directory below the public www:

The file can contain a simple username and password separated by use of a tab or space:

Once done, save the file, restart the service, and your should be good to go!